Learning to squat, press, bench, and deadlift; there’s no lack of tutorials showing you how to do each one of those correctly and safely. However, safety is not only dictated by your form or whether or not you are choosing the correct weight on the first day, but also knowing how to set up your equipment correctly. Here are some guidelines for your reference.
Squat
Rack height:
Regardless of which variation of the squat you do, ensure the pins are set up to smoothen the unracking process. Not too high that you need to tiptoe to unrack/rerack the bar. Not too low that you need to get lower yourself significantly to unrack/rerack the bar.
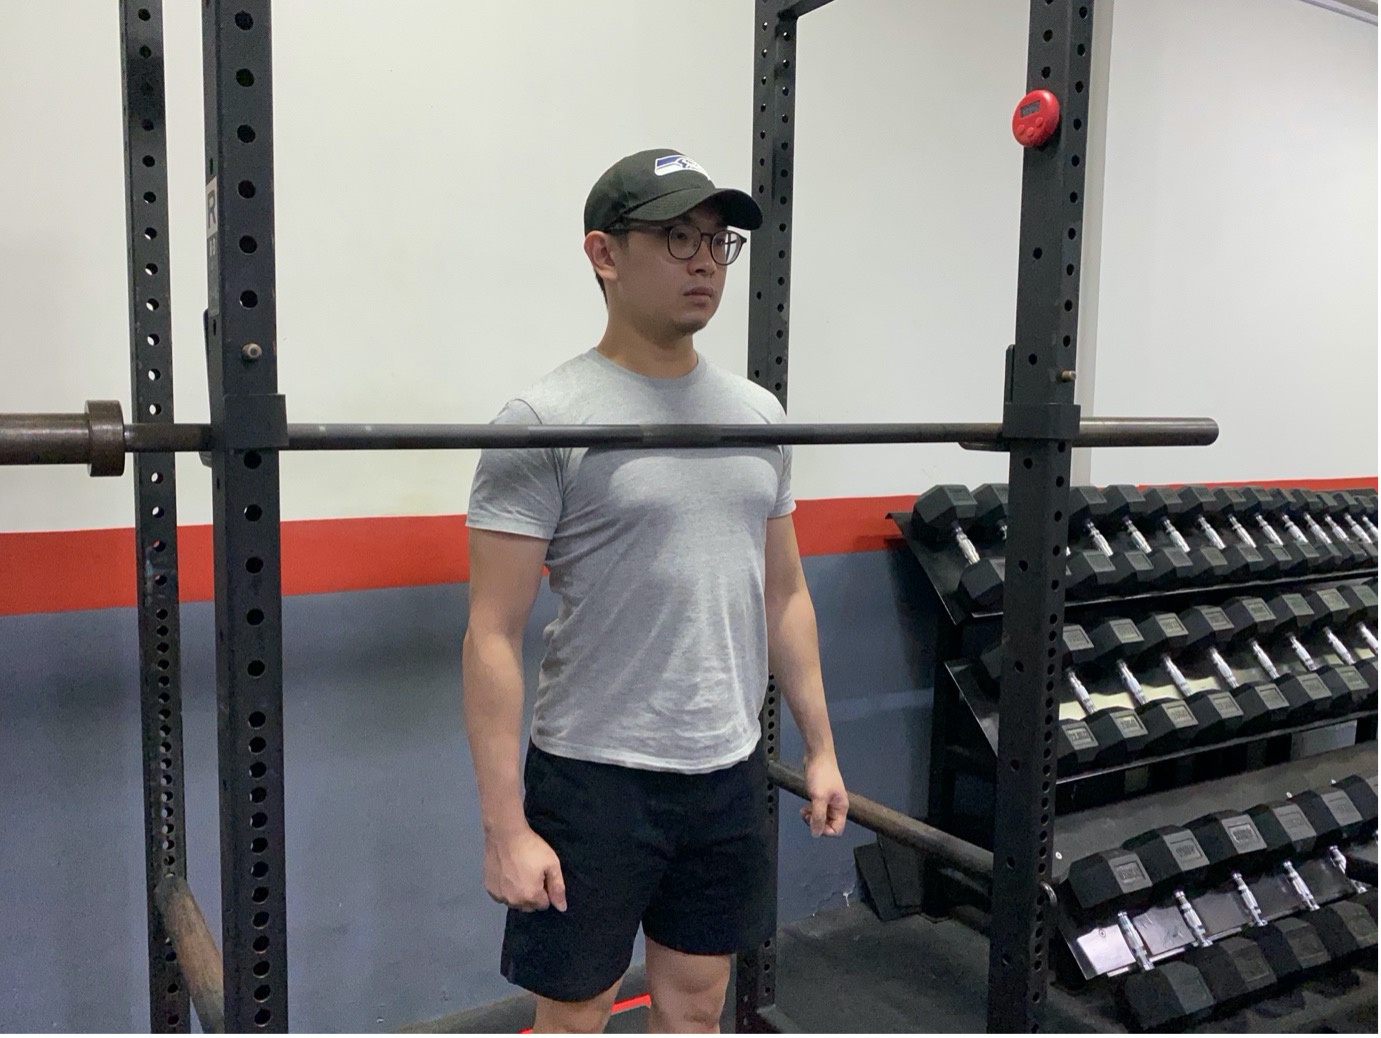
Figure 1 Rack height for squat – mid sternum, in between your collar bone and the nipple line
For a low bar squat, the bar should be somewhere in the middle of your sternum (chest bone). It will be between the collar bone and the nipple line. Once the bar is unracked, you should be able to walk the bar out without hitting the hook. And as you return, it shall hit the vertical component of the hook.
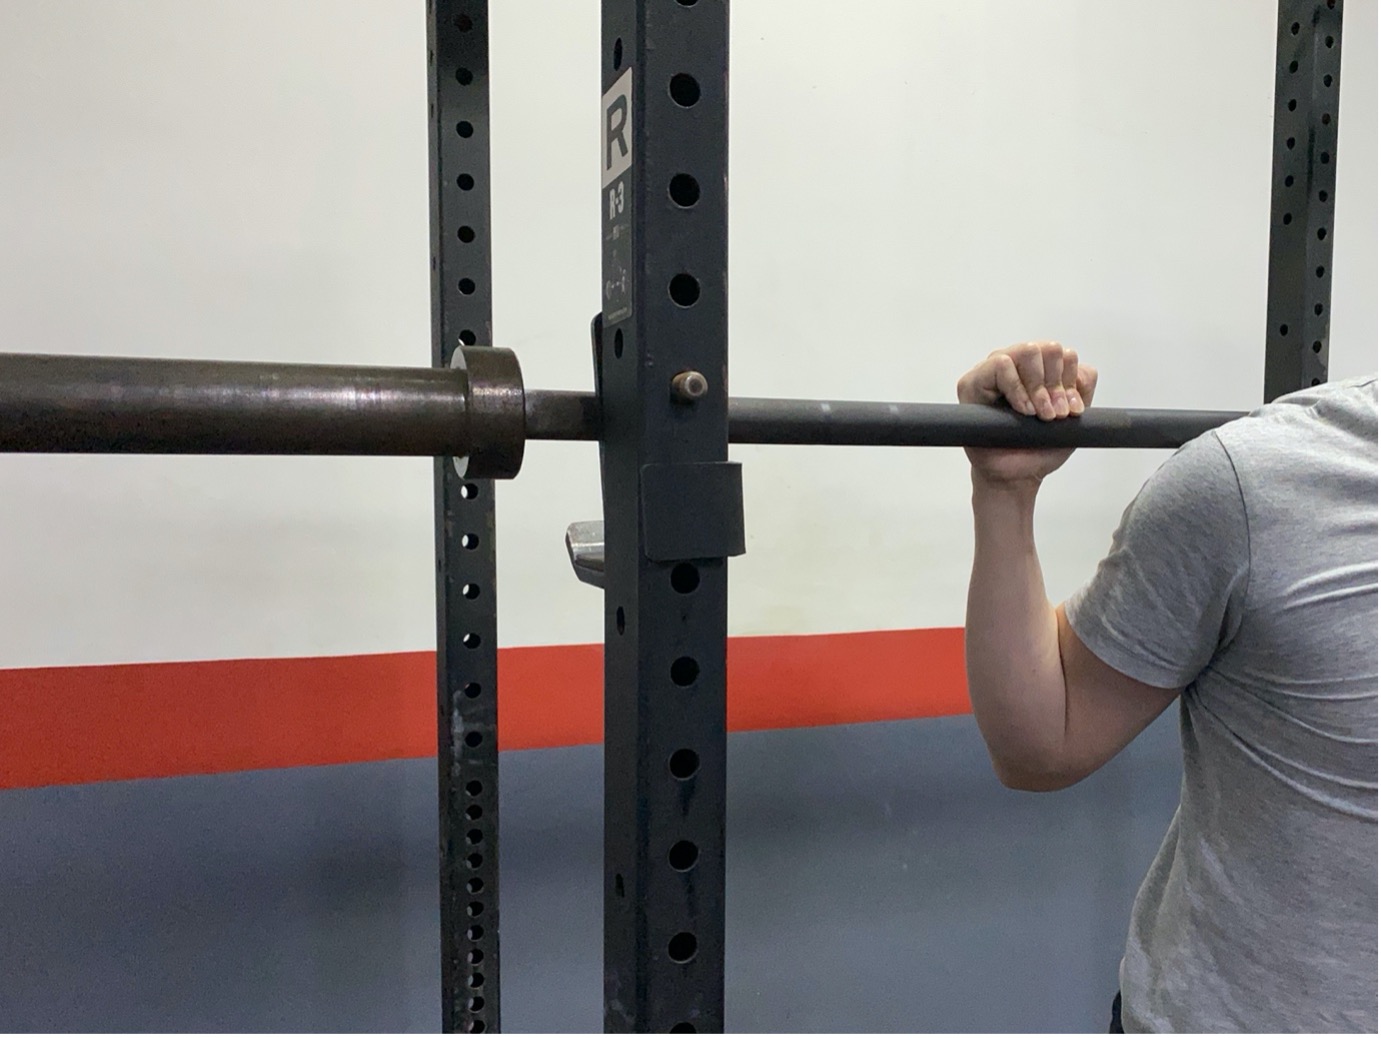
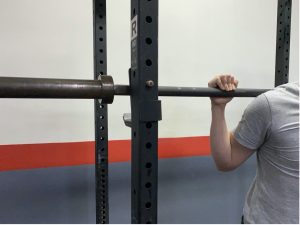 Figure 2 Once you unrack the bar by extending your hips and knees, the bar should clear the horizontal portion of the pins easily, yet not high enough to be over the vertical section of the pin. This will ensure a smooth exit from the pins and entry back to the rack.
If your height is in between two holes/slots (happens all the time when the gap between them is too big), always choose the lower one. Never tiptoe.
Safeties/ safety pins/ spotter arms:
You’ll probably only need it when the weight gets heavy, but I recommend setting it as early as the first warm-up (empty bar). The approximate height of your safeties is around your groin level. Please test it out! If the safeties can’t catch the bar even as you are squatting “ATG” (ass-to-grass), then it’s too low.
If the bar keeps on hitting the safeties as you are reaching proper depth, then it’s too high.
The correct height for your safeties will allow you to squat normally (and even slightly too deep) without hitting them but will save you if you miss the rep.
Press
Rack height:
The starting position of a press is slightly higher than a low bar squat. Thus, you can try to slightly increase the pin height. In a Rogue R-3 rack, I usually increase the height by 1 hole (2 inches). If your rack has a wider gap in between, it’s totally fine to use the same height as a squat. Similar concept to squat setup, you shouldn’t tiptoe the bar out or lift the bar beyond your starting position to get the bar out.
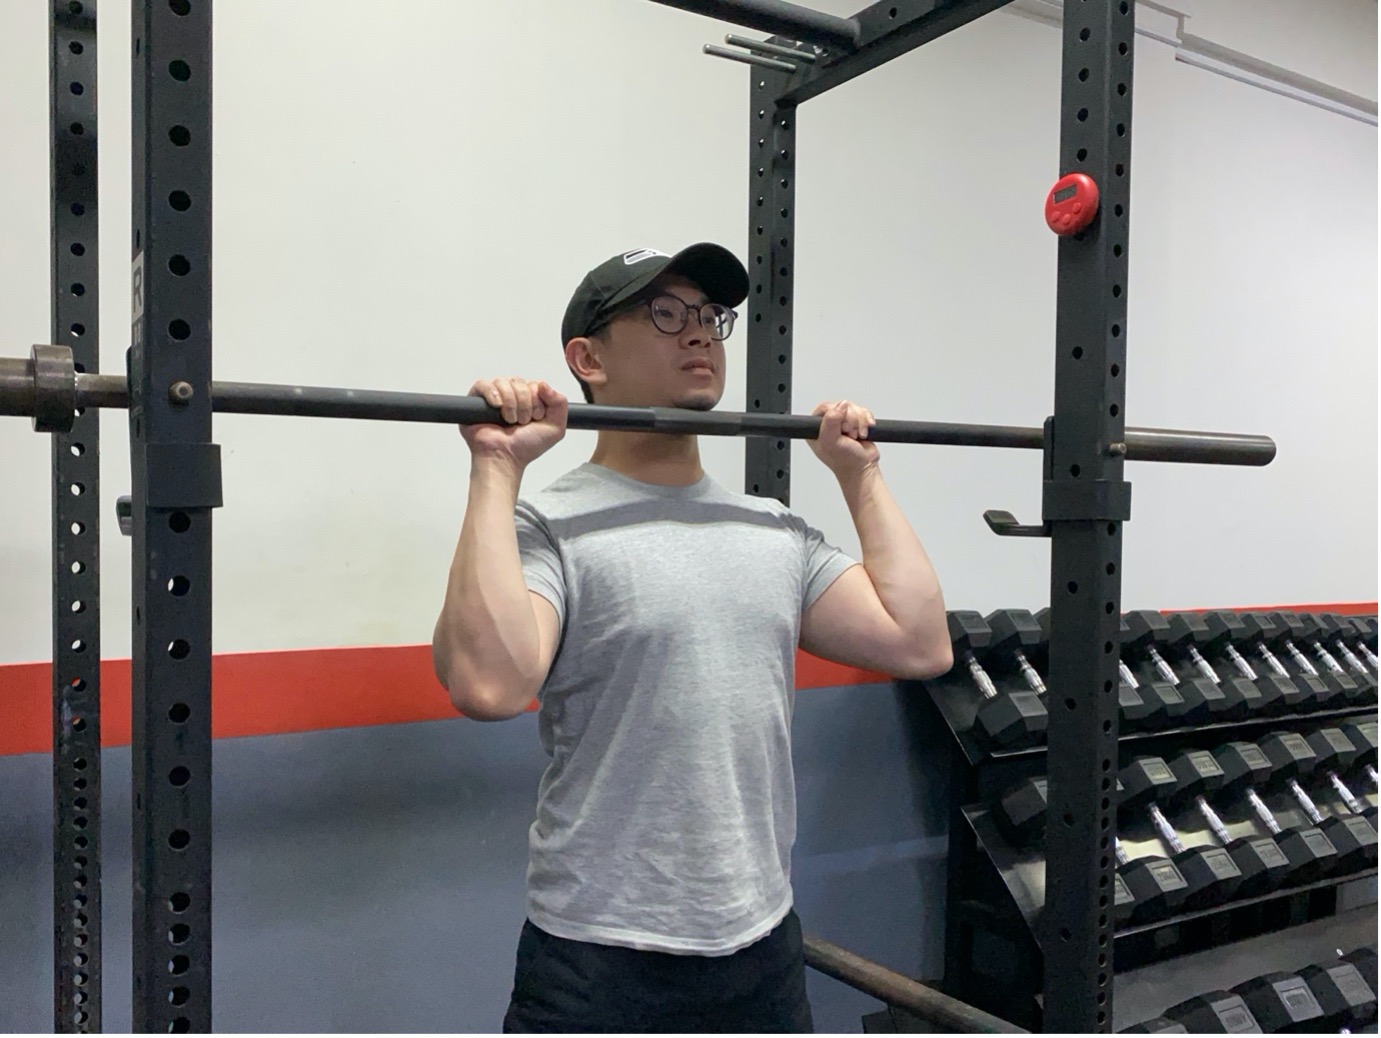
Figure 3 Unracking position for press – bar is able to clear the horizontal section of the pin, but still within the height of its vertical section
Safeties:
Safeties are not necessary. If you fail a press, you can rack it back on top of your shoulder and walk it back to the pins. On a very rare occasion of an emergency, dump the bar in front of you.
Side notes:
Never use the suicide grip (thumbless grip) for the overhead press or bench press. It’s called the suicide grip for a reason. Rip famously said, if you REALLY MUST use a suicide grip, ONLY do it at home. So when the ambulance comes to pick you up, it doesn’t distract other people training in the gym.
Bench press
Rack height:
The correct rack height for the bench press allows you to unrack and rerack the bar with your scapula fully retracted and depressed. Your shoulder blades should always be in contact with the bench. If you need to shrug the shoulder forward to clear the pins, the pins are too high for you.
In a commercial gym, you might find a bench rack with a fixed height. If your arms are too short for that fixed height, and you really must bench there, get a spotter to help you in and out of the rack.
Body placement on the bench:
Make sure that your eyes are vertically below the bar. If your pins have a horizontal base, roll the bar as far away from the rack as possible. If you are positioned too far inside the rack, you risk hitting the pins with the bar. If you are positioned too far away from the rack, you will have a hard time unracking the bar and risking yourself missing the rack on the way back. See the video for illustration.
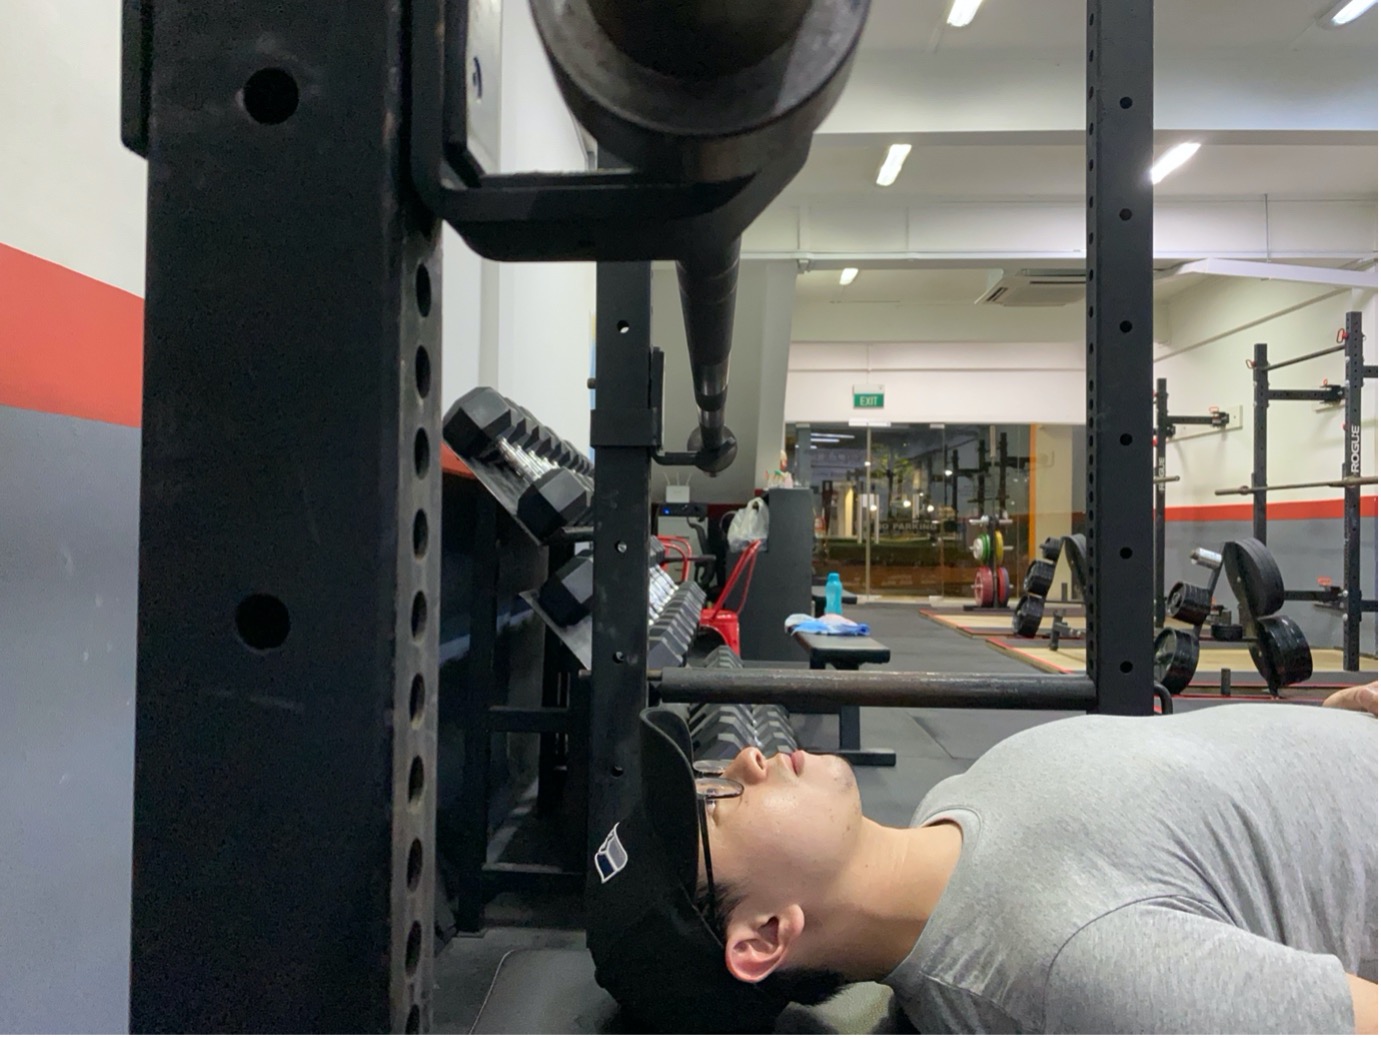
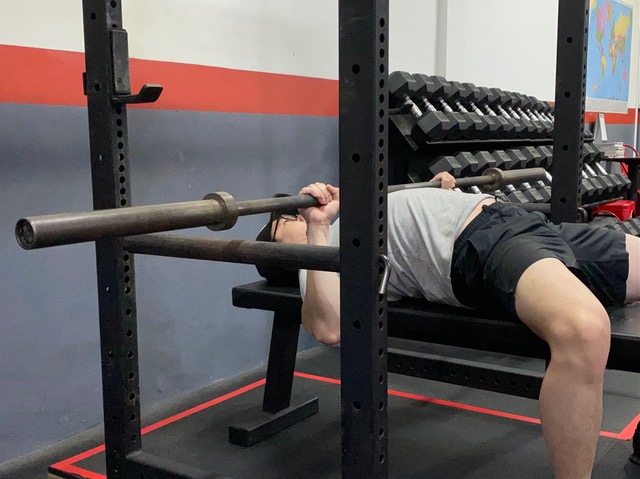
Figure 4 Correct body position relative to the bar – your eyes need to be vertically below the bar
Spotter:
A good spotter is probably more useful than installing safeties. Having a spotter is my go-to for a PR bench. Why? Because on top of being able to save you from dying, they can also help with the lift-off and racking back.
If you are training alone or there’s no one reliable, your next good option is safety pins/spotter arms.
Safeties
Number 1 rule for bench safeties: when the bar is resting on the safeties, it should clear your neck and face from hitting the bar.
Next, the safeties should be low enough so the bar can touch your chest without hitting your safeties.
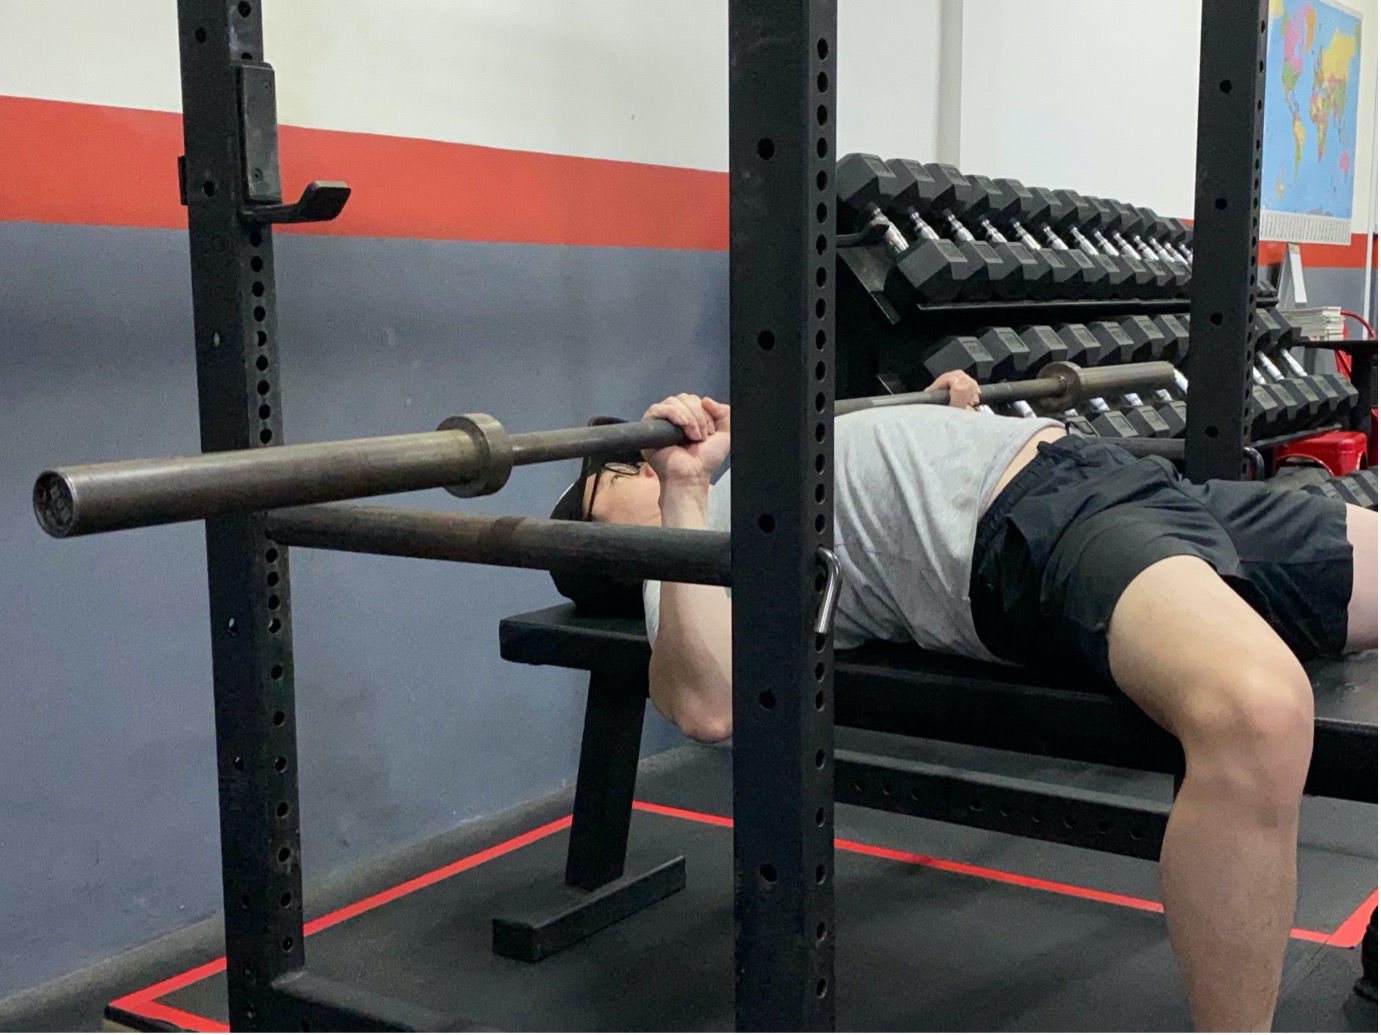
Figure 5 The barbell will not touch the safeties in a fully arched position
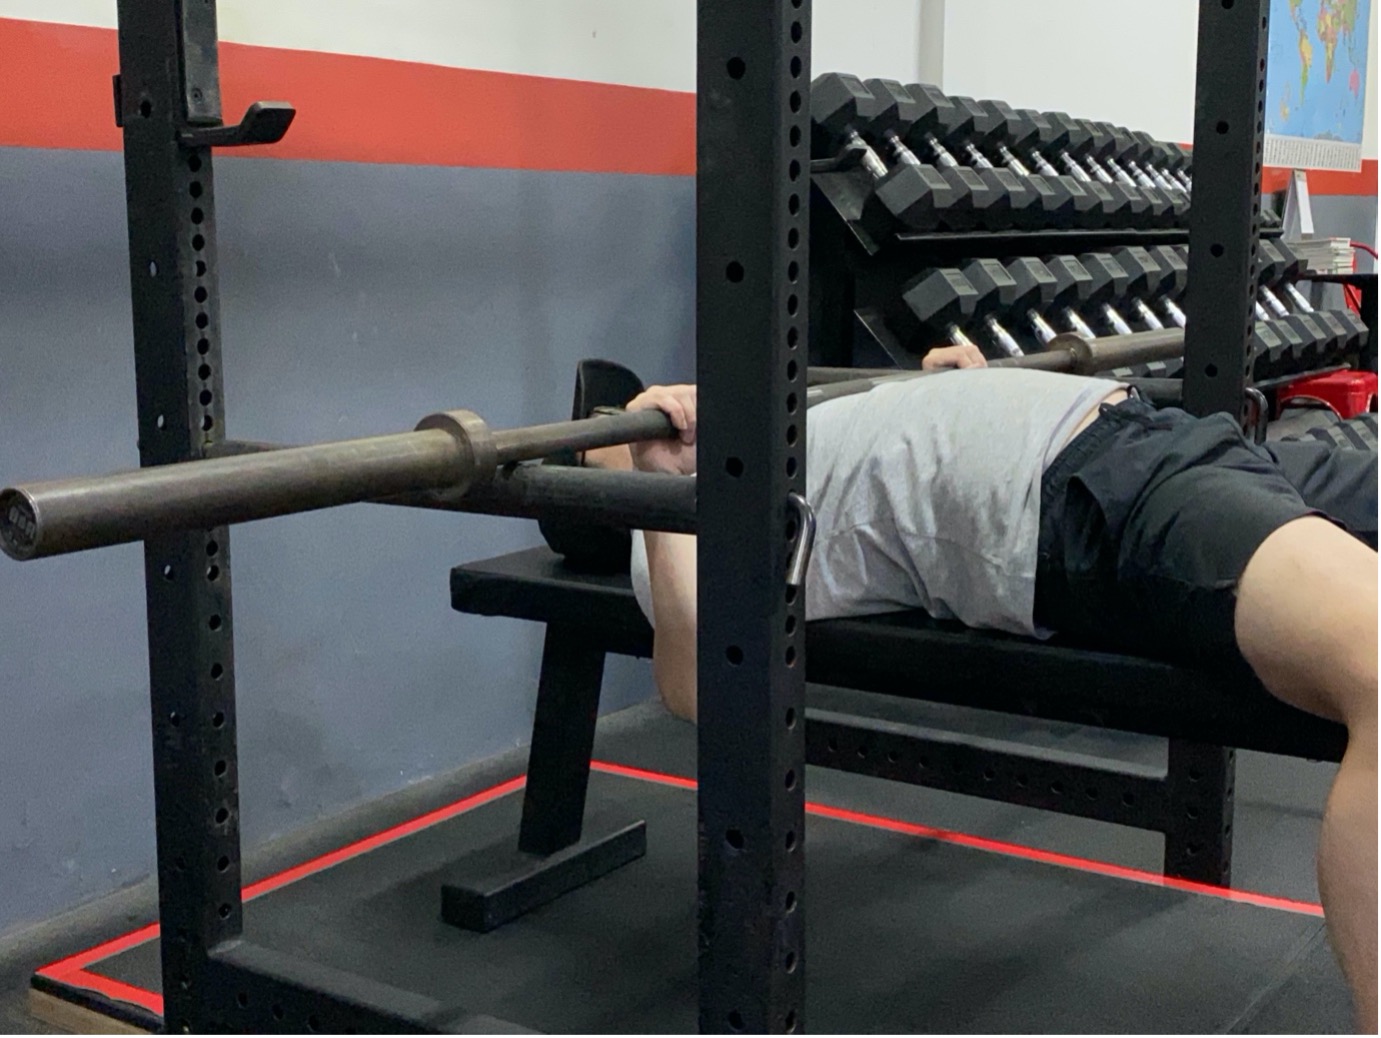
Figure 6 Once the lifter stops arching, the bar will be supported by the safety pins/spotter arms
Side notes:
If you are benching without safeties, please do not lock the bar with the clips. Give yourself an option to tilt the bar sideways and letting the weights fall off your bar.
Deadlift and Power Clean
You don’t need any rack or safeties for this one. If you can’t lift it, drop it back to the floor. Not so fast, though! Maybe read this article to understand what I mean.